How to Fix Your FBA Inbound Workflow: Stop Copy-Pasting SKUs
Key takeaway: Amazon's Send to Amazon workflow is manual and error-prone. Software that maps MSKUs and quantities from your catalog removes most of the copy-paste.
The Process Nobody Admits Is Painful
If you sell on Amazon FBA, you have done this dozens of times:
- Figure out what needs restocking
- Open Seller Central, go to Send to Amazon
- Download the template spreadsheet
- Open your inventory system in another tab
- Look up each SKU, find the Amazon MSKU, copy it
- Type the quantity
- Repeat for 20, 50, 100+ products
- Upload the template and hope you did not mistype a SKU
A 50-SKU shipment means 50 MSKU lookups and 50 typed quantities, all of it tedious copy-paste work. One wrong MSKU means rejected rows, missing inventory, and delayed check-in.
If you've built these by hand, you know it's the bottleneck nobody talks about. Sellers obsess over forecasting and reorder points (and they should), but the actual process of getting inventory into FBA is still painfully manual for most operations.
Why It Is Harder Than It Should Be
The MSKU Translation Problem
Your internal inventory system tracks products by your own SKU. Amazon knows them by their Merchant SKU (MSKU). These are often different:
| Your System | Amazon MSKU | Product |
|---|---|---|
| WIDGET-BLU-LG | WDG-BLUE-LARGE-FBA | Blue Widget, Large |
| CAN-16OZ-VAN | 854729001234 | 16oz Vanilla Candle |
| CASE-IPHONE15 | IP15-CLEAR-CASE-V2 | iPhone 15 Clear Case |
For every product in your shipment, you look up the correct Amazon MSKU. Get it wrong and Amazon rejects the row. Use your internal SKU instead and the whole upload fails.
The Template Format Problem
Amazon's Send to Amazon template has a specific structure: an instruction row, section label rows, a 10-column header row with exact column names, and data rows starting on row 7.
You cannot just paste a CSV of SKUs and quantities. The file must match Amazon's expected format exactly, or you get the "Invalid or outdated template" error. Close enough does not work.
The Multi-Channel Problem
If you sell on both Amazon and Shopify (or other channels), your transfer planning needs to account for which products are allocated for FBA vs. your own warehouse, which Amazon seller account each product is listed under, and the correct MSKU for each product in each store. None of this lives in Seller Central. Bridging the two has traditionally meant manual work.
What the Workflow Should Look Like
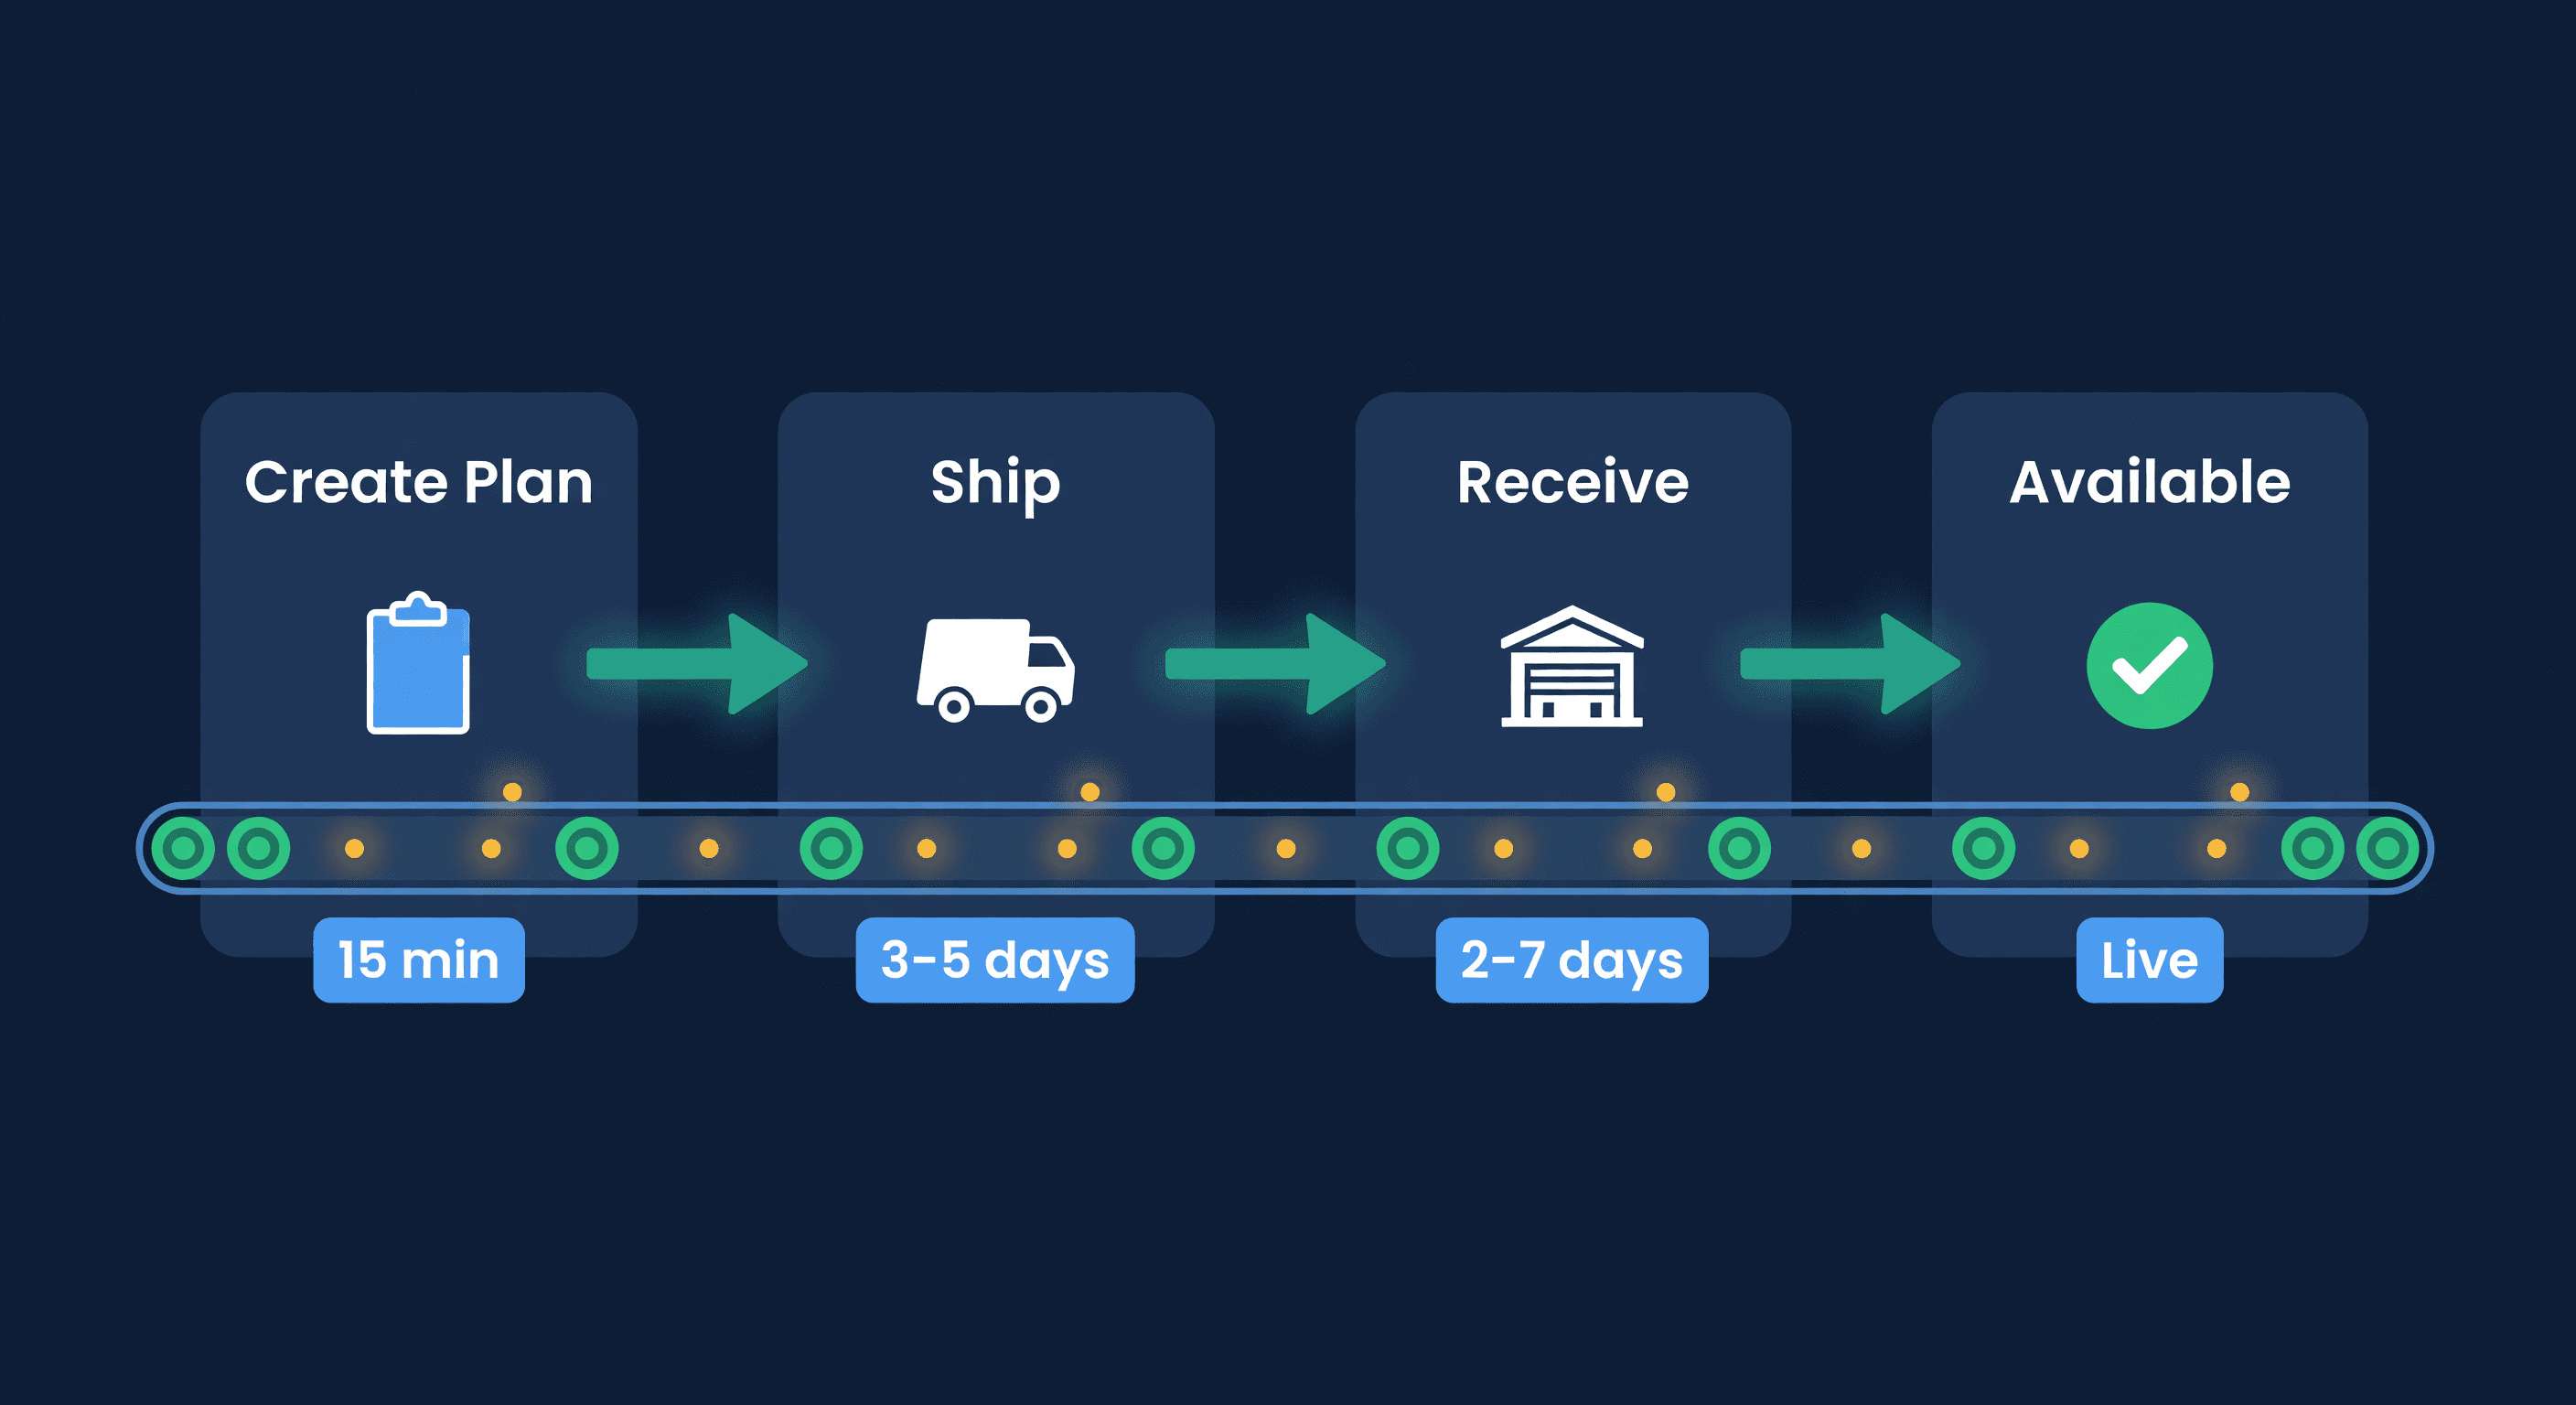
Step 1: Plan Your Transfer
Use your inventory system to decide what to send and how much. Good transfer planning accounts for current FBA stock levels, sales velocity, incoming purchase orders, reorder points, safety stock, and FBA restock limits.
If you are using transfer suggestions, your system already knows which SKUs need restocking and in what quantities.
Step 2: Export the Manifest
Instead of looking up each MSKU by hand, your system maps internal SKUs to Amazon MSKUs automatically from your connected Amazon account, generates a file matching Amazon's template format, and flags any SKUs that could not be mapped so you fix them before uploading.
The copy-paste step becomes an export.
Step 3: Upload to Seller Central
Take the exported file, upload it in Send to Amazon. Amazon creates the shipment plan, assigns fulfillment centers, and you pack and ship.
Before You Seal the Boxes: A Seven-Point Preflight
A clean upload only proves the file was right. It says nothing about the boxes. Many inbound problems start after the plan exists, when what is physically in a carton drifts away from what the plan says is in it. Run these seven checks before anything leaves the building.
- Match the plan to the boxes, not to the spreadsheet. For each line, confirm the Merchant SKU, the marketplace, the unit count, and what is actually sitting in the carton. Having the stock and having it packed correctly are two separate checks, and passing the first tells you nothing about the second.
- Get prep and label responsibility from Amazon's current guidance, per product and per marketplace. For the US, Amazon's Fulfillment Inbound API documentation states that the seller must prep and label all products before sending them in. Prep details are set per product and per marketplace (Amazon: additional inbound functionality), so do not copy the owner from last year's shipment or from a tutorial screenshot. Pull the instructions for this product in Seller Central or through your integration.
- Match every carton to its packing group. Amazon assigns items to packing groups, and each carton belongs to one. Record the real dimensions and weight of every box. Where Amazon returns restrictions for your plan, follow those, not a carton limit you remember from a forum thread.
- Match each box label to its box. Amazon gives every box a package ID so labels can be matched to boxes (Amazon: additional inbound functionality). Check that the label on each carton carries the package ID for that carton and its planned contents. A correct label on the wrong box is a receiving problem you will hear about later.
- Give each expiration date its own box. If the product has an expiry, write down the lot, the date, and the units. Amazon's shipment box reference is explicit that items with the same Merchant SKU but different expiration dates cannot go into the same box. Two dates means two boxes, even when both would fit in one.
- Treat sale status and inbound permission as different questions. A listing that shows active can still be the wrong thing to send. Stranded, suppressed or inactive warnings deserve a look, but a clean listing is not approval to ship it in. If you do not know whether a product needs category approval or documentation, write "unknown" on the checklist and find out. We would rather see "unknown" on a checklist than a guess.
- Keep a record of what you shipped. Before the truck leaves, save the quantities and prep and label owners you reviewed, the shipment ID, and the box IDs, with the date you checked them. Once Amazon shows the shipment as delivered or receiving, count it as stock on the way, not stock you can sell. Arrival and check-in dates are estimates until the units show as fulfillable.
None of this gets a product approved, ungated, or enrolled in a brand program. The checklist exists to stop a shipment that was fine on screen from turning into a reconciliation case in the warehouse.
What Separates Good Tools from Bad Ones
Automatic MSKU Mapping
The tool connects to your Amazon Seller account and maps your internal SKUs to Amazon MSKUs automatically. No lookup tables. No VLOOKUP formulas.
Manual MSKU mapping is a common source of errors in FBA shipments. Wrong MSKUs mean rejected uploads and delayed shipments.
Template-Compatible Export
The export must match Amazon's Send to Amazon format exactly. Amazon validates file structure on upload, so if you have to reformat the export before uploading, we would say you have moved the manual work instead of eliminating it.
Unmapped SKU Warnings
Some products will not map automatically. The tool should tell you which ones and how many so you can fix them. Silent failures are worse than errors - you would rather know that 3 out of 50 SKUs need attention than discover missing inventory days later.
Multi-Store Support
If you sell under multiple Amazon seller accounts or marketplaces, the export should use the correct MSKU for the destination account. Products can have different MSKUs in different stores. Wrong store, wrong listing.
Manual vs. Automated: Side by Side
| Step | Manual Process | With Automation |
|---|---|---|
| Identify restock needs | Check reports, compare stock levels | System alerts you automatically |
| Look up Amazon MSKUs | Open Seller Central, search each product | Mapped automatically via API |
| Enter into template | Copy-paste each SKU + quantity | One-click export |
| When mapping errors show up | On upload, after the fact | Flagged before export |
How ReplenishRadar Handles This
ReplenishRadar connects to your Amazon Seller account and syncs your product catalog - MSKUs, FNSKUs, and listing data included. We built two ways to handle FBA inbound because different sellers want different levels of control.
The first is manifest export. You create a transfer order, and the system generates a file matching Amazon's template format with all the MSKU mapping done for you. Any products that could not be mapped get flagged before export. You take the file to Seller Central, upload it, and you are done.
The second goes further. Using Amazon's Selling Partner API, ReplenishRadar creates the inbound plan directly. You select your transfer items, click "Create FBA Plan," and Amazon assigns fulfillment centers. You track your inbound shipment from creation through delivery without switching between tools. The manifest export is for sellers who want to control every step in Seller Central. The API path is for sellers who want speed and volume.
Both approaches still let you review quantities, adjust before shipping, work with Amazon's fulfillment center assignments, and manage the physical shipping process. You just skip the data entry.
The Short Version
Every minute spent copying SKUs between tabs is a minute not spent on something that actually grows revenue. If you send regular FBA shipments and you are still doing this by hand, the time adds up fast.
Try ReplenishRadar free for 14 days ->
Related Reading
Frequently Asked Questions
Get notified when it matters
Amazon and Shopify change the rules constantly. We'll email you when something affects your business.
See what your inventory is really doing
Doing $5M+ in revenue? Talk to our team
Related Posts
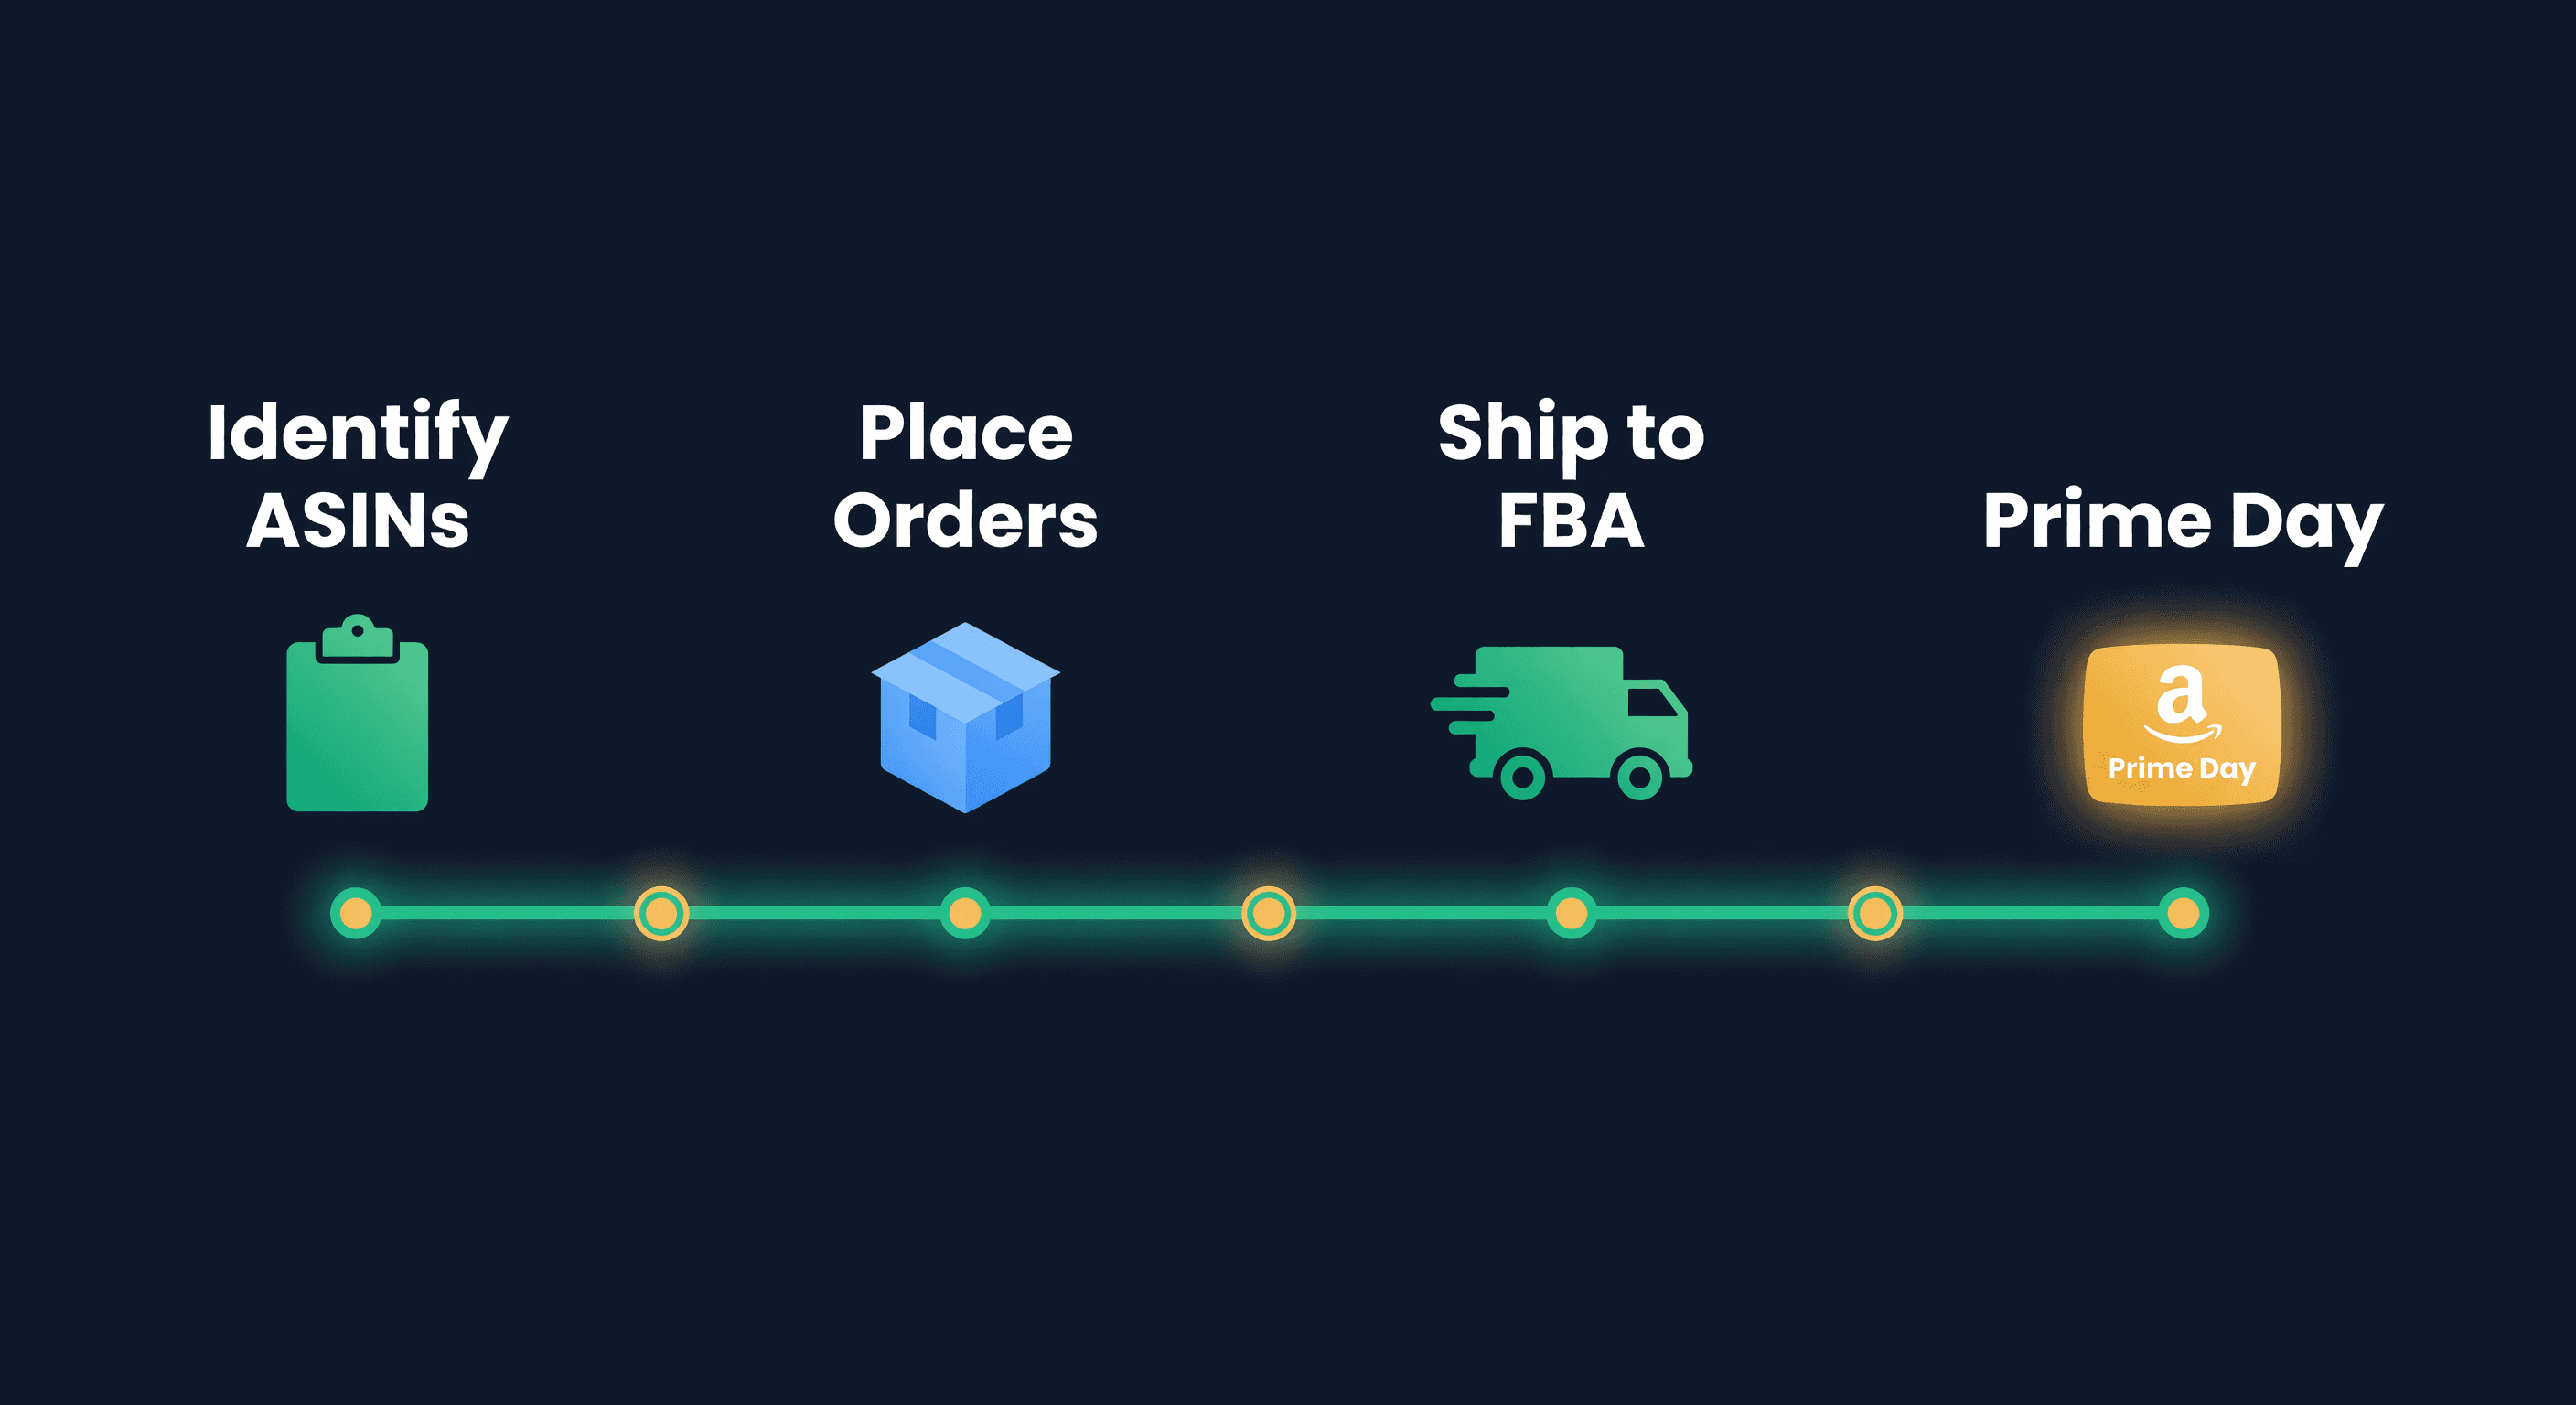
Prime Day Inventory Prep Checklist for FBA Sellers
A week-by-week Prime Day inventory checklist covering FBA send-in deadlines, demand forecasting, storage fees, and the mistakes that cost sellers thousands.
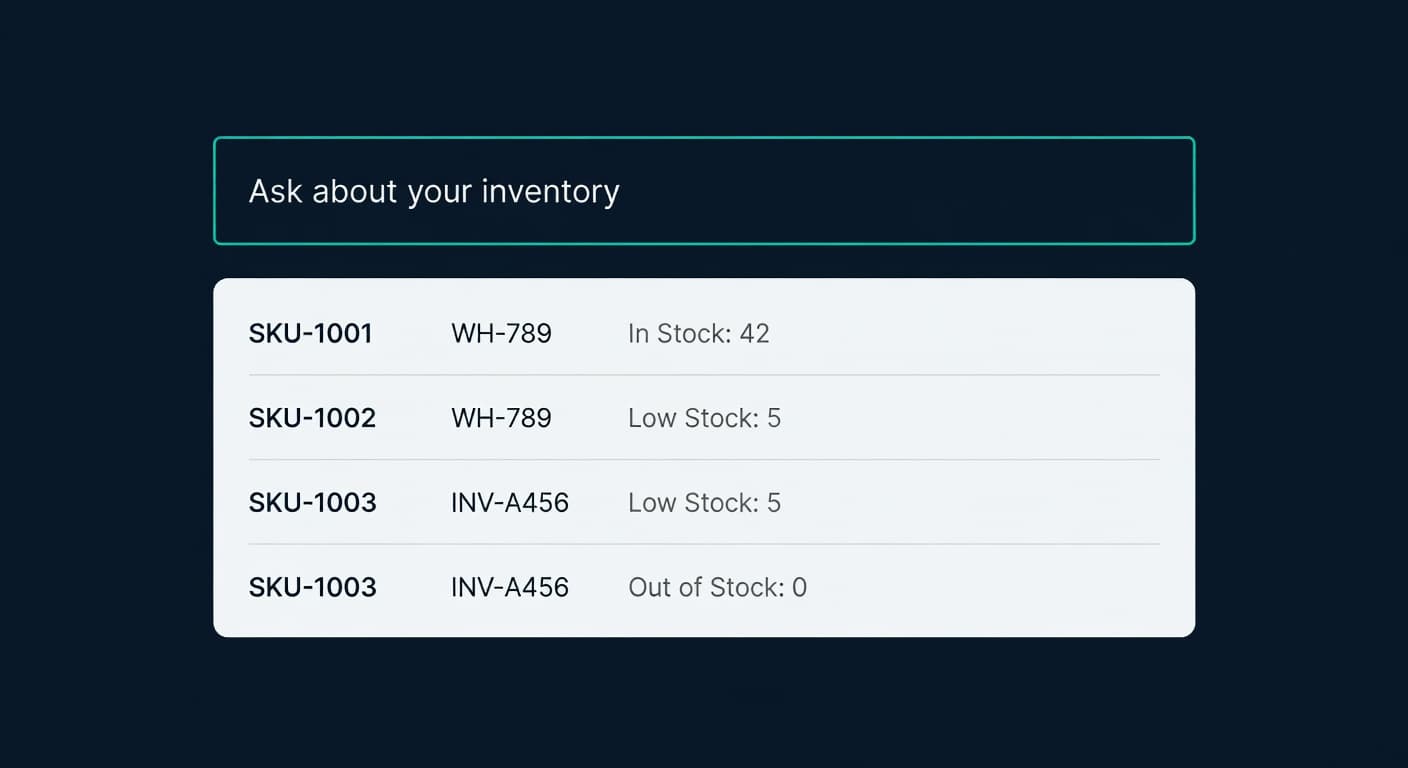
Ask Your Inventory a Question. Get a Real Answer.
Ask ReplenishRadar queries your live inventory data in plain English. Not a chatbot. Real numbers from your real stores, in seconds.
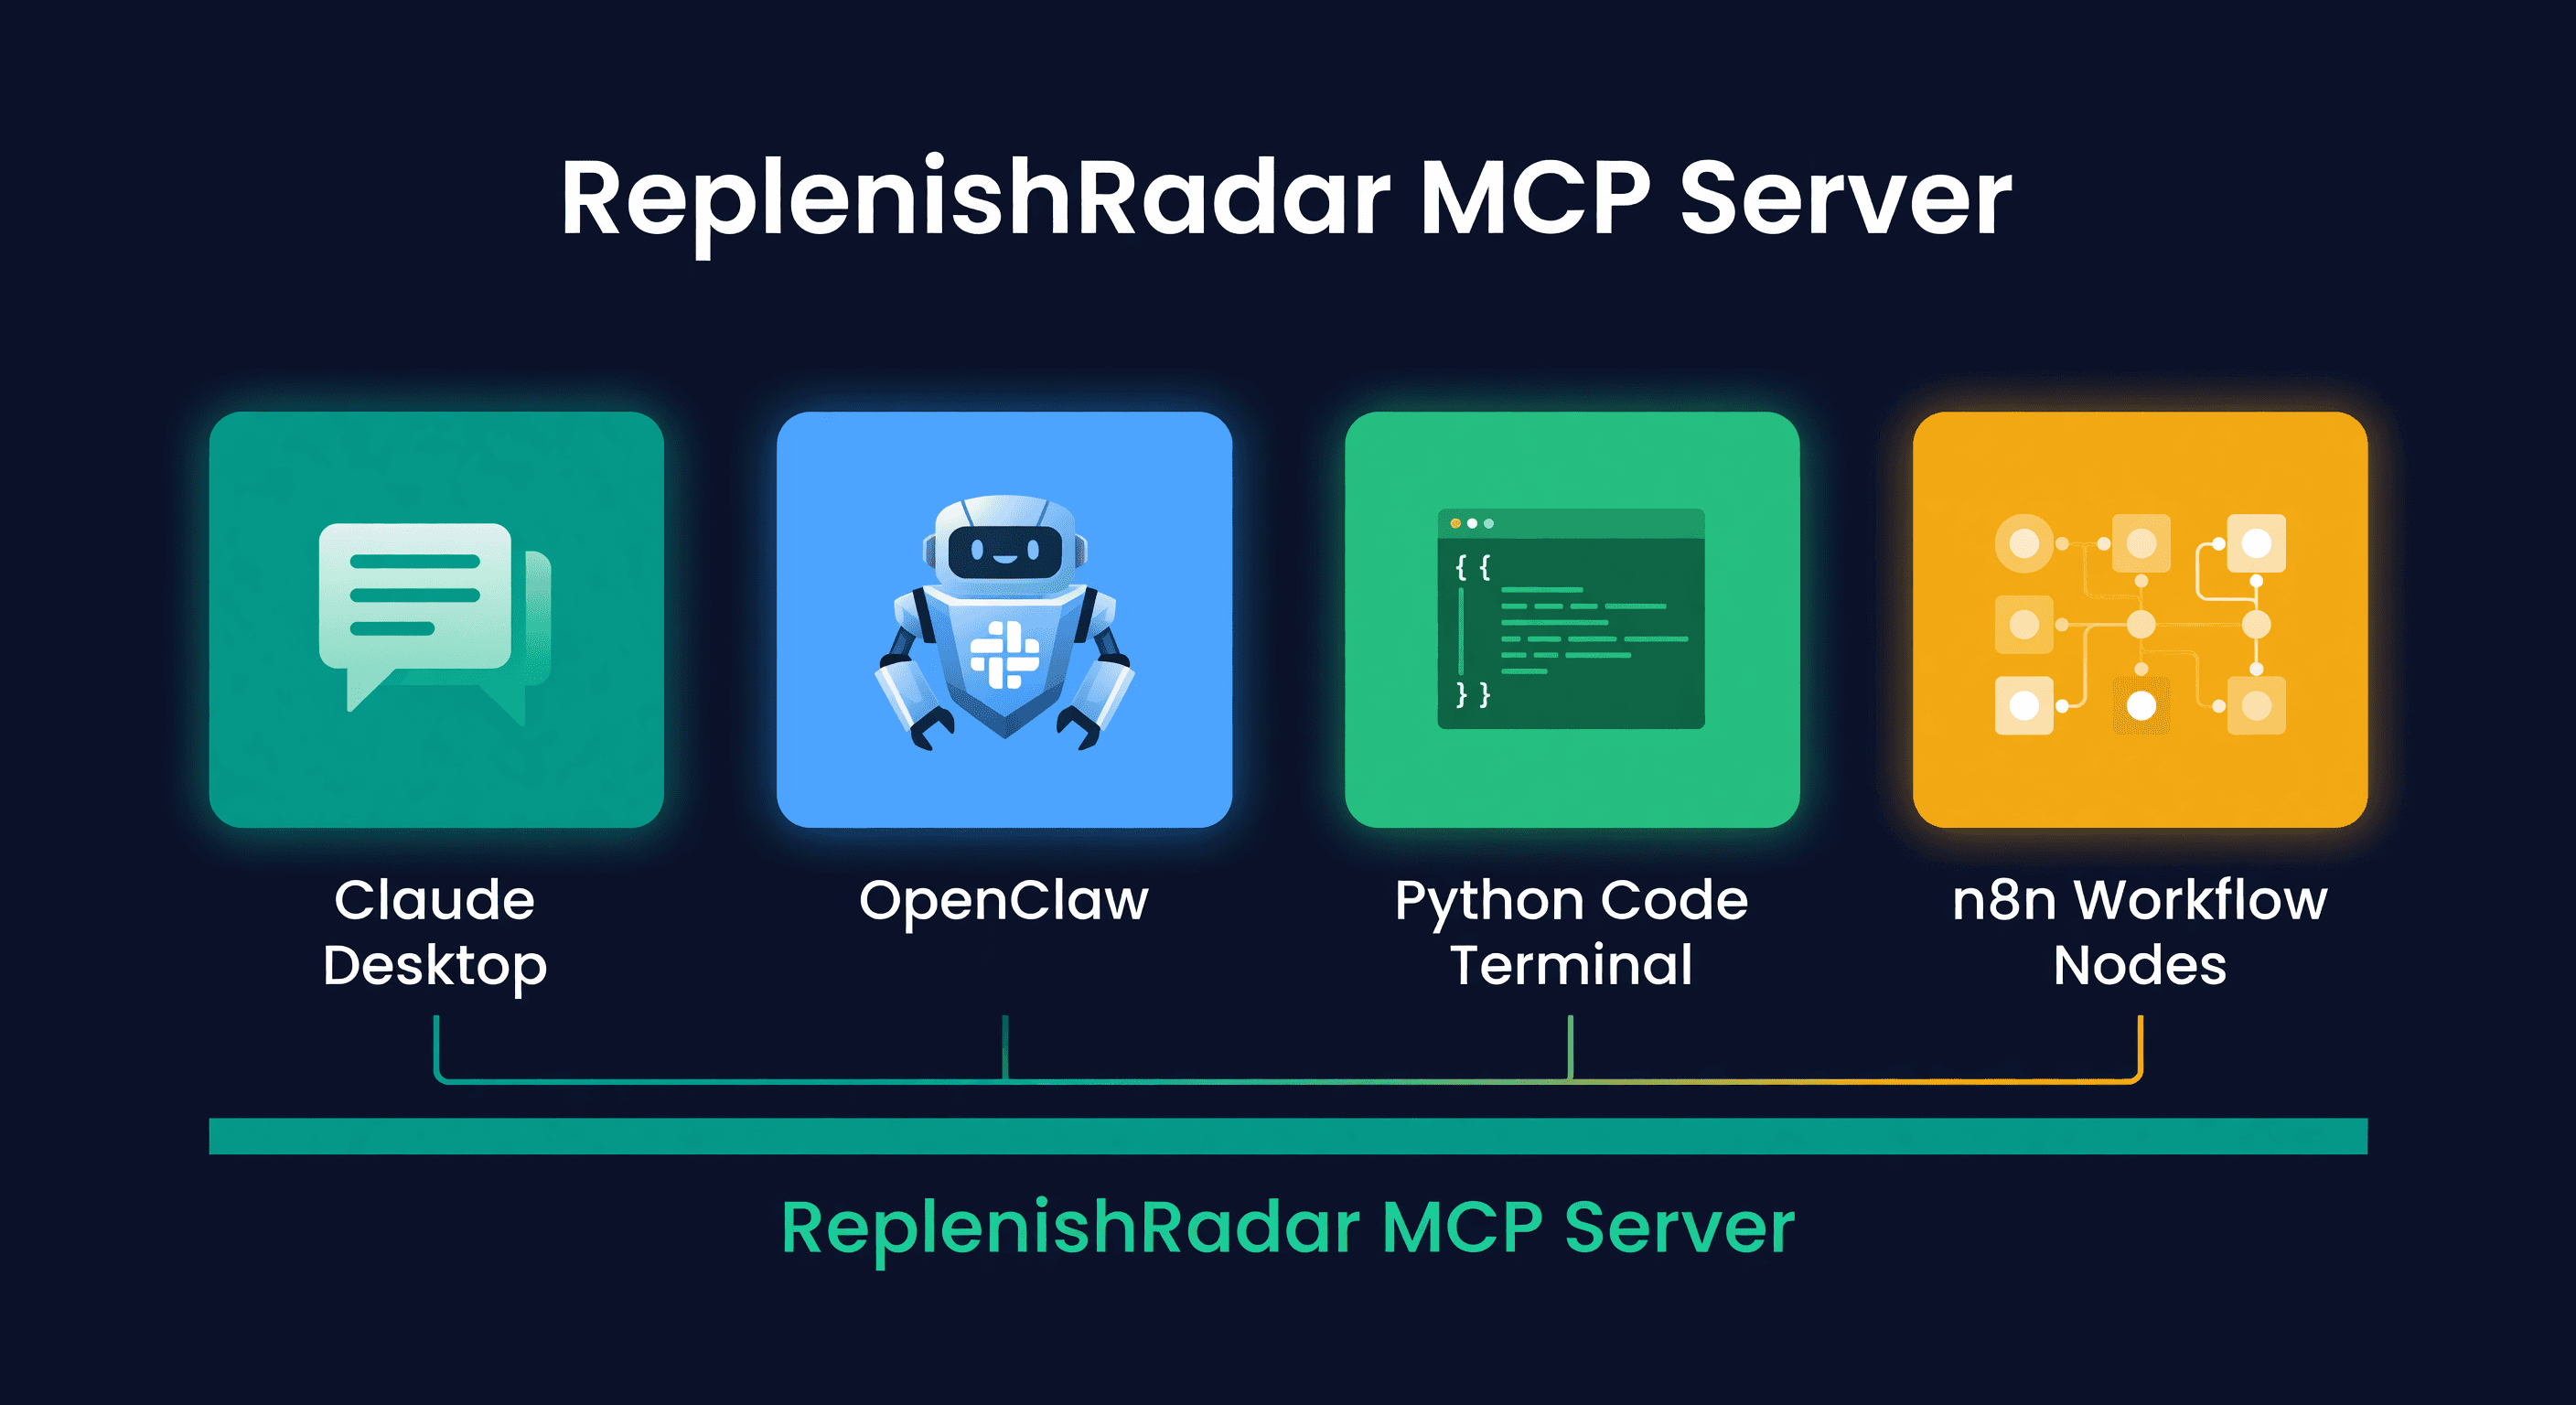
Best AI Agent Setup for Amazon and Shopify (2026)
Four ways to connect an AI agent to your inventory data. Claude Desktop, OpenClaw, custom Python, and n8n compared with honest pros and cons.
